


















































How to Make Bag Charms: A Practical Guide

Key Takeaways
・Most bag charm failures happen at the jump ring or clasp, not in the beads themselves.
・Beading wire with a crimp bead is the strongest everyday stringing option for a beaded bag charm.
・Planning your bead pattern, length, and hardware before assembling saves time and produces better results.
・When you need branded charms at scale, The Monterey Company offers custom jewelry manufacturing with hands-on service from real people.
Ready to turn your design into a custom charm? Get a free quote from The Monterey Company and see what 35+ years of custom manufacturing can do for your brand.
What Makes a Good Bag Charm
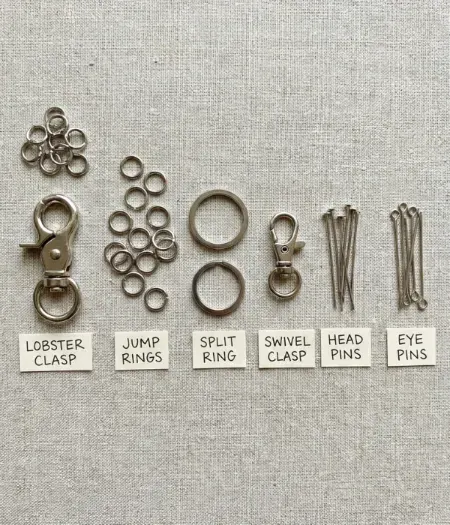
A good bag charm starts with the attachment, not the decoration. The top connector, whether that’s a lobster clasp, a swivel clasp, or a split ring, carries every bit of stress the charm experiences on a real bag. If that hardware is too thin or poorly closed, the charm will fail, and no amount of nice beads will save it.
That’s the thing most beginner guides skip. They spend three paragraphs on color palettes and one sentence on the hardware gauge. We’re going to fix that.
Bag Charm vs. Purse Charm vs. Backpack Charm vs. Zipper Pull
These terms get used interchangeably, but they’re not quite the same thing. A purse charm is generally decorative and sized for a structured handbag. A backpack charm can be bigger and heavier since it’s hanging from a more forgiving attachment point. A zipper pull is shorter and lighter than either, and it has to slide along the zipper track without snagging fabric or seams.
A beaded keychain is built for more abrasion because it comes into contact with keys, hard surfaces, and pocket linings. A bag charm can be made from lighter materials since it mostly swings free.
That difference matters when you’re choosing beads and hardware. What works beautifully on a tote might constantly snag on a school backpack.
Tools and Materials You Actually Need
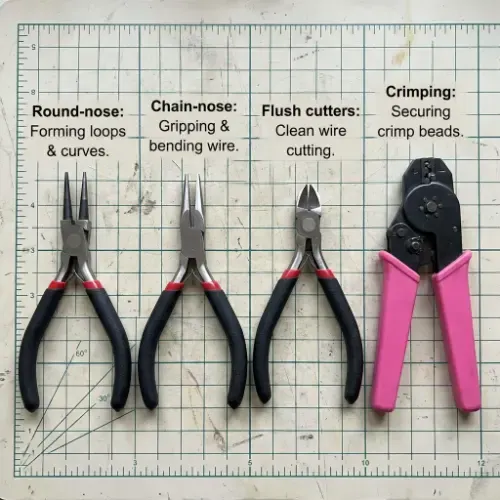
The core list is short. You need a clasp, jump rings, beads or charms, and either an eye pin, head pin, or stringing material. For tools: chain-nose pliers, round-nose pliers, flush cutters, and crimping pliers cover most builds.
Each tool controls a different failure point. Flush cutters create clean wire ends that won’t scratch the bag. Crimping pliers close crimp beads tightly so the strand doesn’t pull loose. Round-nose pliers form smooth loops. Chain-nose pliers open and close jump rings without distorting the metal.
You probably don’t need a full kit on the first build. But having the wrong tool (or no tool at all) is how charms end up with sharp wire ends and crooked loops.
What String Should You Use for Bag Charms?
Beading wire with a crimp bead is the strongest everyday option, especially for glass beads or heavier metal charms. It holds shape, resists stretch, and doesn’t fray. It’s the default for any charm used daily.
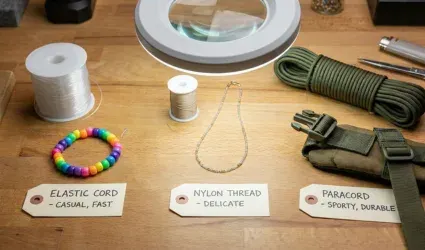
Elastic cord is fast and forgiving. Fine for lightweight pony beads or acrylic beads on a casual build. But it stretches over time, so it’s better for a fun project than a kept one. Nylon thread works well for finer beads and more delicate designs. Paracord is the move for sporty bags or anything that’s going to take real wear.
Kit vs. Buying Separately
Starter kits (including popular options like the BaubleBar bag charm kit) can be a genuinely good starting point because they pre-select compatible hardware sizes and include a little of everything. The tradeoff is that you get what’s in the kit, not what your specific design actually needs. Buying separately costs more upfront but gives you real control over hardware gauge, cord type, and bead weight. For a one-off charm, a kit is fine. For anything you’re making repeatedly or in multiples, buying separately is worth it.
How to Plan Your Design Before You Start
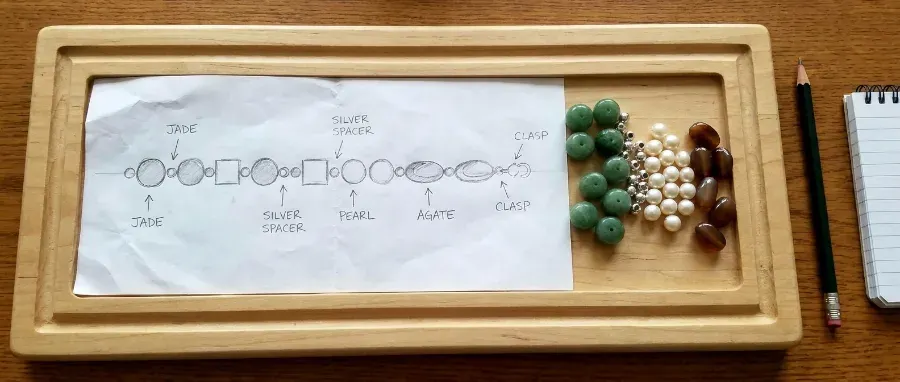
The fastest way to improve any DIY bag charm is to plan the pattern before touching the tools. Pick a structure first – single strand, charm chain, stacked bead drop, or multi-dangle. Then decide where it will hang on the bag.
Placement changes everything. A charm on a top handle swings differently than one clipped to a side zipper. That affects ideal length, snag risk, and how much the piece tangles in daily use.
How to Measure Length
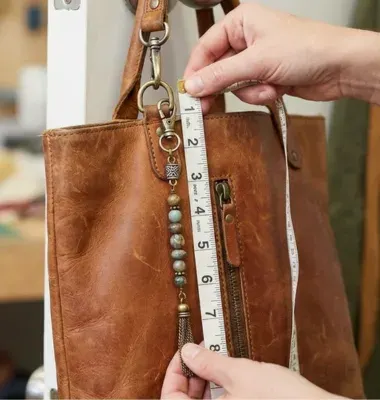
Clip a temporary sample onto the bag with a clip hook and let it hang. That test tells you more than measuring on a flat table, because the bag changes shape when carried. A charm that looks perfect, laid out flat, can bump against a zipper pull constantly when worn.
Remember to measure the full hardware stack including the clasp, jump ring, top connector, and all. A lot of charms end up longer than planned because the builder counted only the beaded section.
Color Matching and Visual Balance
A limited color palette and a single focal charm create cohesion. Spacer beads keep the layout from looking crowded. Letter beads add personalization for names, teams, or short phrases.
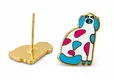
Heavier elements should sit near the top connector so the charm pulls straight down. Smaller dangles belong near the bottom, where they can move freely. A focal piece, like custom enamel charms, placed at the center or lowest point anchors the whole design visually.
Step-by-Step: Make a Simple Beaded Bag Charm
If this is your first build, a simple beaded strand is the place to start. One main line, one finishing point, and a short bead pattern. It’s also the fastest way to learn how tension, hardware, and spacing interact.
Cut your stringing material a few inches longer than the finished length you want. Extra length gives you room to attach hardware cleanly and fix pattern mistakes without having to start over.
Step 1 – Attach the Clasp to a Jump Ring
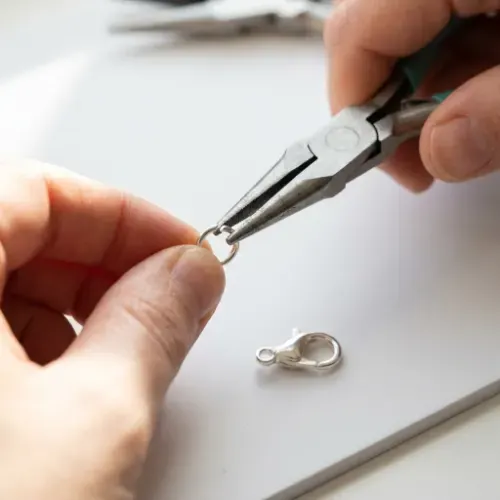
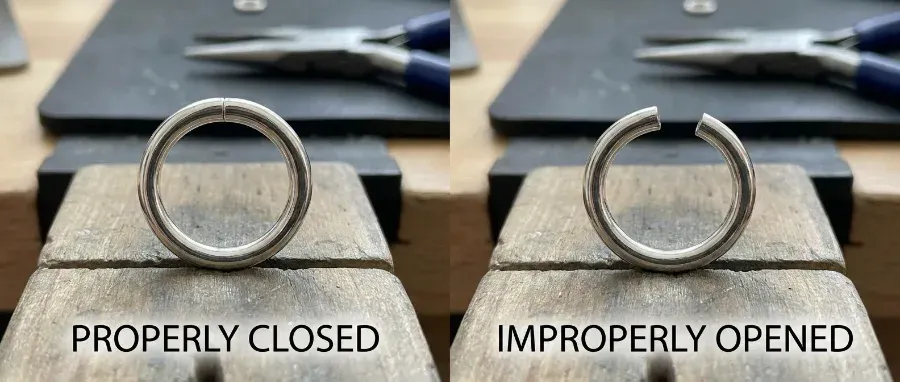
Open the jump ring by twisting it sideways with pliers, not by pulling the ends apart. Pulling distorts the shape and creates a gap that won’t close cleanly. Attach the lobster clasp first. Then consider adding a second jump ring between the clasp and the strand – two rings improve movement and distribute wear at the top connection.
Step 2 – Thread Beads and Lock the Pattern
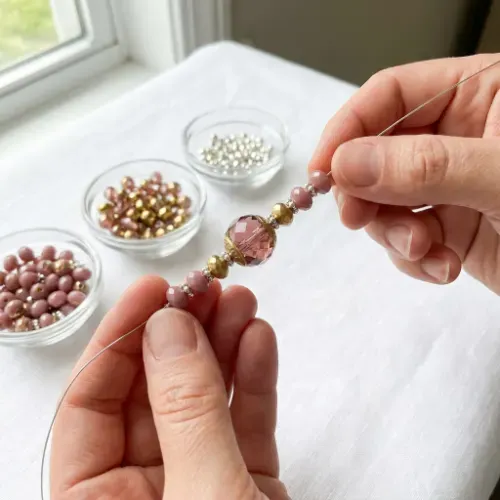
Thread in your planned order. Put a spacer bead between larger or more fragile pieces. The spacer protects fragile beads from banging together and gives the pattern visual rhythm.
Keep the strongest visual element, like your focal charm or a larger glass bead, near the center of the strand. That’s where the eye lands first.
Step 3 – Finish the End
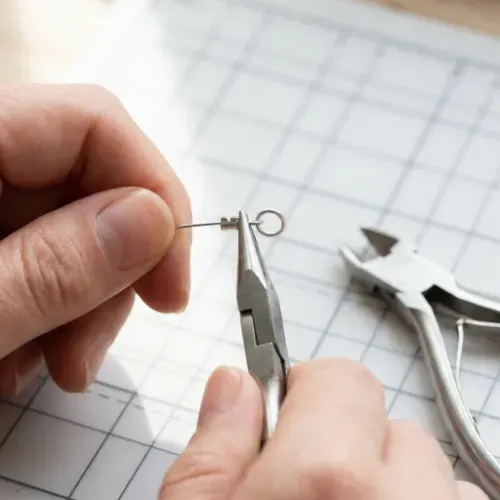
For daily use, beading wire with crimp beads is more reliable than a knot. Slide a crimp bead onto the wire, loop the wire through the bottom jump ring, run it back through the crimp, then close the crimp bead with crimping pliers. Trim the tail with flush cutters. Optional: slide a crimp cover over the finished crimp for a cleaner look.
If you’re using cord, tie a surgeon’s knot, tighten it fully, and trim the ends neatly. A small drop of jewelry glue can reinforce a good knot – but it’s not a substitute for one.
Step-by-Step: Make a Charm Chain With Dangles
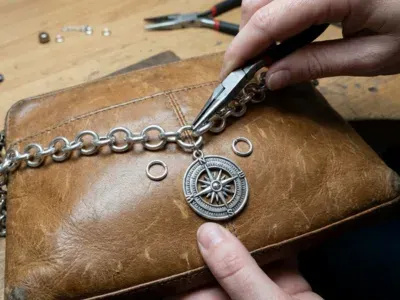
A charm chain creates more movement and visual layering than a single strand. It also introduces more stress points, so each connection has to be deliberate.
Start with a short base chain and add dangles one at a time. Varying lengths creates motion, but too much variation causes tangling and uneven swing against the bag.
Make Bead Drops With Eye Pins and Head Pins
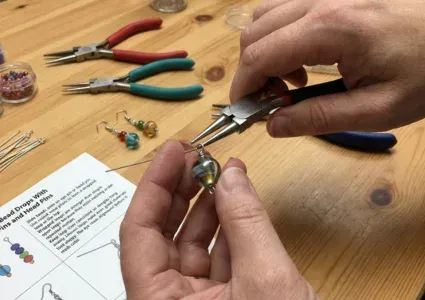
Slide beads onto an eye pin or head pin. Use round-nose pliers to form a wrapped loop at the top. Wrapped loops are stronger than simple open loops because they resist twisting under repeated motion.
Keep loop sizes consistent so dangles hang evenly. Uneven loops make even good materials look sloppy. The eye reads alignment before it reads color.
Where to Place the Focal Charm
Place the focal charm at the center or lowest point of the chain. Leave one or two chain links empty on each side to prevent crowding and reduce tangling during use.
Test the finished chain on the actual bag before tightening every ring completely. A design that looks balanced in the hand can still catch on pocket straps or zipper paths when worn.
Quick Variations When You Want Something Fast
Safety pin bead cluster: Use a sturdy safety pin, slide on smooth beads, close it securely, and attach it with a jump ring. The look is casual. Just avoid rough-edged beads as they wear the pin coating fast and create snag risk.
Paracord strap with beads: Melt the paracord ends to stop fraying, thread on a few large-hole beads, and use a lark’s head knot to attach to a ring or clip hook. Works especially well on sporty backpacks. A short boondoggle or lanyard string segment adds color and texture without adding much weight.
Safety pins with beads work best as secondary accents rather than the main attachment point. They’re not built to carry a full strand long-term.
Common Mistakes and How to Avoid Them
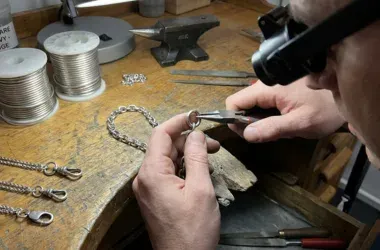
Most weak charms fail because the hardware was underestimated. Thin jump rings, rough wire ends, and overloaded layouts create scratches, noise, and breakage faster than most people expect.
The second common mistake is making the charm too large for the bag. A charm that dominates the bag may look dramatic at first but becomes genuinely annoying in daily use.
Hardware Failures – The Number One Break Point
Choose a thicker hardware gauge for jump rings and close each ring flush with no visible gap. If the top connector rotates often, a swivel clasp outperforms a fixed clasp because it relieves twist before the ring starts to deform. Lobster clasps work well when easy removal matters.
Tangles, Snags, and Surface Damage
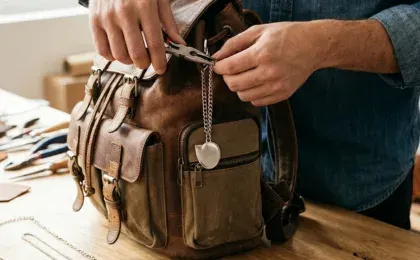
Keep dangles shorter on bags with many straps, pockets, or exposed zippers. Long chains look elegant in photos but short drops perform better in real use. Avoid sharp-edged metal or rough resin pieces against delicate leather or coated fabrics, because the surface damage almost always comes from repeated rubbing, not a single impact.
When DIY Isn’t the Right Fit
DIY is ideal for one-offs, gifts, and concept testing. But once a design needs to be consistent across a school, a company, a sports team, or a merch run. Then you run into a different problem entirely.
Repeatable branded charms require artwork refinement, material selection, attachment engineering, and proofing. The charm has to look the same on unit 1 and unit 500. That’s a production challenge before it’s a design challenge.
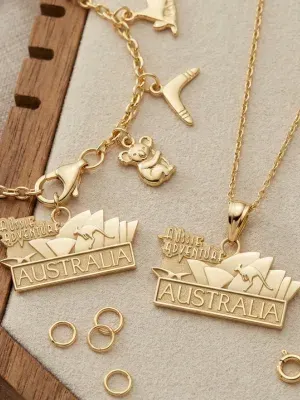
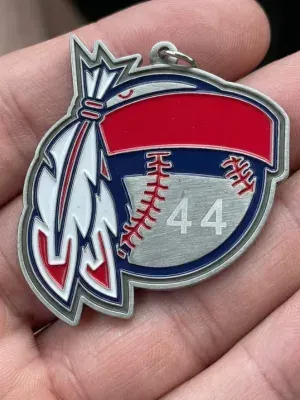

Need custom charms for your team, brand, or event? The Monterey Company has been manufacturing custom charms and pendants since 1989. Start here to connect with our sales team.
FAQ
What do I need to make a bag charm?
At minimum: a clasp, jump rings, stringing material, beads or charms, and pliers or cutters. For better durability, add beading wire and crimp beads rather than relying solely on knots.
What string is best for bag charms?
Beading wire is the strongest option for everyday use. Elastic cord works for quick, lightweight projects. Paracord handles sporty, abrasion-heavy bags well.
What’s the difference between a bag charm and a keychain?
A beaded keychain is built for abrasion and repeated contact with keys and hard pocket surfaces. A bag charm is built more for appearance and movement. The hardware and materials should reflect that difference.
How do I keep my charm from tangling?
Keep dangle lengths varied but not extreme. Shorter drops tangle less than long chains in daily use. Test on the actual bag before finalizing all the rings.
A bag charm looks small, but it behaves like a moving piece of hardware. Plan the weight, choose the right connection method, and finish every end cleanly – even a simple build can look polished and last far longer than most people expect.

Eric Turney
Eric Turney A devoted father, football fanatic, and stand-up comedy enthusiast who loves nothing more than bringing people together over great food and a good time. When he’s not cheering on his favorite team or experimenting in the kitchen, you can find him connecting with others on LinkedIn

 Coins & Medals
 Corporate Gifting & Events
 Custom Labels & Accessories
 Everything Keychains
 Headwear
 Holidays