


How to Make Charm Bracelets: A Step-by-Step Guide

Key Takeaways
- ‣ A charm bracelet lasts when the base, hardware, and charms are matched to each other, not chosen by looks alone.
- ‣ Always use the twist-open technique on jump rings to keep them from gapping and dropping charms.
- ‣ Measure the wrist and add a comfort allowance before picking a bracelet base or clasp.
- ‣ A shake test and tug test at the end catch most failures before the bracelet is ever worn.
Ready to design your own custom charms? Request a quote from The Monterey Company and get started with a free digital proof.
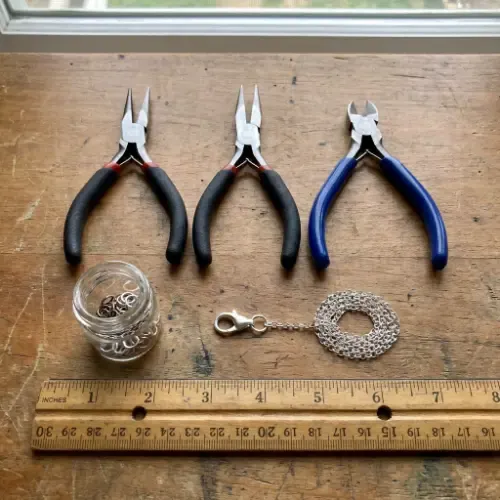
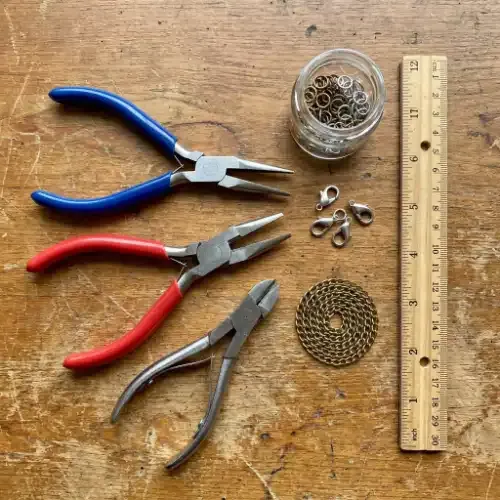
Supplies and Tools You’ll Need
The tool list is short. Two pliers, wire cutters if your chain is unfinished, and a measuring tape or ruler will handle most builds. Chain-nose pliers and flat-nose pliers give you controlled leverage for opening and closing rings, and that control is what protects the small connection points where bracelets usually fail. Nylon-jaw pliers are optional but worth it on plated finishes since they won’t scratch the surface. Round-nose pliers help if you’re shaping your own loops.
For findings, you’ll want jump rings, a clasp, and your chain or bracelet base. A starter charm bracelet kit bundles these if you’d rather not source them individually. My favorite starter charm bracelet kit is the McKanti 674-Piece Charm Bracelet Making Kit, which includes an incredible charm selection.
“A charm bracelet celebrates the story of that woman’s life. In a way, it is like a fingerprint, totally unique to the wearer.”
— Monica Rich Kosann
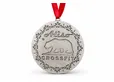
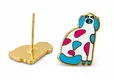
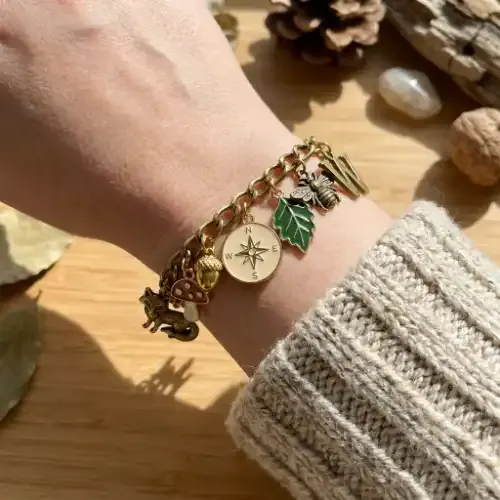
Choosing Materials for Durability
Stainless steel is tough, resists tarnish, and makes a solid base for daily wear. Zinc alloy charms allow detailed and intricate shapes, which work especially well with colorful enamel-filled charms. Mixed materials and metal alloys like brass and bronze hold up best when the plating tone stays consistent across rings, chain, clasp, and charms. Match gold-tone plating with gold-tone, silver-tone with silver-tone, and the bracelet won’t look aged before its time.
Step 1 – Measure and Size the Bracelet
Measure wrist circumference with a measuring tape, then add a comfort allowance of about 0.5 to 1 inch. Bracelet sizing isn’t fixed math because a heavier charm load needs slightly more length to drape rather than bind.

Step 2 – Pick a Base and Clasp
Cable chain and rolo chain offer the best mix of strength and charming movement, making them the safest starting point. A paperclip chain looks modern but needs carefully matched ring sizes so that charms don’t slip or sit awkwardly. Whatever you choose, base thickness should match charm weight and jump ring gauge. A delicate 3mm chain carrying heavy charms puts stress on every link.
For the clasp, a lobster clasp is more secure for everyday wear. A toggle clasp is easier to fasten one-handed, but it can open if the bracelet runs loose. A clip-on clasp or split rings make sense when you want interchangeable charms you can swap out later.
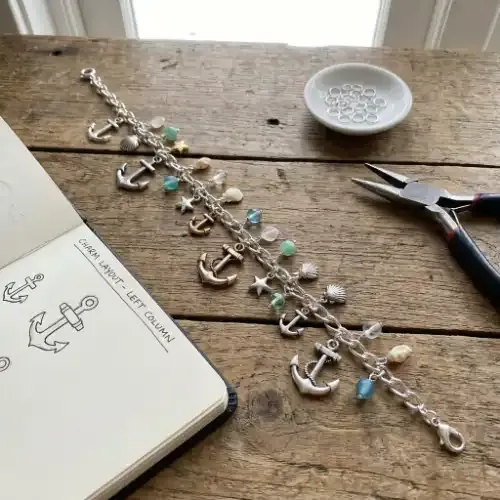
Step 3 – Plan the Layout and Attach the Charms
Start with a theme like milestones, hobbies, school spirit, or a brand story. Then lay the chain flat and place charms in order before attaching anything. Use one or two anchor charms and smaller fillers around them, and put the focal charm opposite the clasp so it centers during wear. Restraint helps here. Too many oversized charms make the bracelet tangle and bury the design.
Now the single most important habit in the whole build: open jump rings with the twist-open technique, twisting the ends sideways past each other, never pulling them straight apart. Pulling ruins the ring’s spring and leaves a gap that charms slip through. Match each ring’s size and gauge to both the charm loop and the chain link. Thin rings are the number one failure point in a DIY charm bracelet. For heavy charms or high-wear bracelets, use thicker-gauge or soldered jump rings.
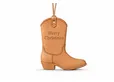
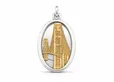
Working With Logos or Custom Artwork
If you’re using a logo or mascot, simplify fine detail early so it stays readable at charm scale. Enamel works for bold color blocks, and engraving suits text and outlines. Hard enamel gives a smooth, durable finish, while soft enamel gives more texture and dimension. When designing custom charms, a digital proof and at least one round of design refinement help catch issues before production begins, while changes are still simple and affordable.
Step 4 – Finish, Test, and Make It Comfortable
Before you call it done, check every snag point. Confirm all jump rings are fully closed, the clasp is secure, and the chain isn’t twisted. Then run two quick checks: a shake test to hear any loose hardware, and a gentle tug test on each charm.
Wear it for a few minutes too. If the weight distribution feels off and the bracelet keeps spinning, remove a charm or two. When a bracelet flips or breaks rings, the problem is usually physics, not craftsmanship.
The Monterey Company has built custom charms and branded accessories with unmatched quality control since 1989. Start your custom charm order and get a free quote today.
Build It to Be Worn
The best charm bracelets balance style with secure attachment methods, whether you are working with simple beads, plated charms, or valuable 18K gold pieces. Communities such as r/jewlerymaking can offer fresh ideas, but careful sizing, closed jump rings, and a final wear test are what keep the finished bracelet together. Take your time with each connection, and you will create something that looks good and holds up through multiple wears.

Eric Turney
Eric Turney A devoted father, football fanatic, and stand-up comedy enthusiast who loves nothing more than bringing people together over great food and a good time. When he’s not cheering on his favorite team or experimenting in the kitchen, you can find him connecting with others on LinkedIn