








































How To Remove an Iron On Patch

Key Takeaways
- ‣ Heat is the fastest and safest way to remove most custom iron-on patches.
- ‣ A pressing cloth and oven mitt protect your hands and fabric during removal.
- ‣ Polyester, mesh, and leather hats each need slightly different heat settings.
- ‣ Adhesive residue usually comes off with rubbing alcohol or a little fabric glue remover.
Need a fresh custom patch after this one comes off? Get a free quote from The Monterey Company and we’ll handle the design and shipping for you.
How Do You Remove an Iron-On Patch
If you’re wondering how to remove an iron-on patch, the short answer is heat. Warming up the old adhesive with an iron or a heat press loosens its grip so the patch lifts away cleanly. This works on most polyester hats, canvas hats, and structured hats. It’s a little trickier with branded leather patches and wool blend hats, but we’ll get to that.
Patches usually come loose for one of two reasons. Either the patch was applied with proper iron-on adhesive and just needs reheating, or someone used fabric glue or double-sided tape, which behaves differently under heat. Knowing which one you’re dealing with saves you some frustration later on.
I’ve pulled patches off more hats than I can count in our shop, and the ones that go wrong almost always go wrong the same way. Someone gets impatient and yanks before the adhesive has fully softened. So before anything else, slow down. This isn’t a race.
What You’ll Need
Before you start, grab a few basics. None of this requires a trip to a specialty store.
- ‣ A regular household iron
- ‣ An ironing board or another flat, heat-safe surface
- ‣ A pressing cloth or thin cotton cloth
- ‣ An oven mitt, for handling hot fabric
- ‣ Rubbing alcohol for cleanup afterward
- ‣ A butter knife or old credit card, for lifting edges
You don’t need a heat press machine for this job, even though we use one in our shop for applying new patches. A household iron does plenty for removal. I got this one from Amazon, and it works like a charm.

Step-by-Step Removal Process
Here’s the process we walk customers through when they ask about removing an old patch.
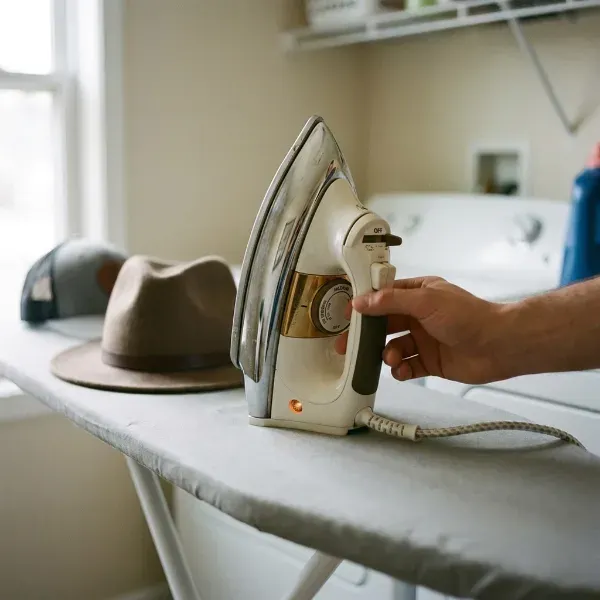
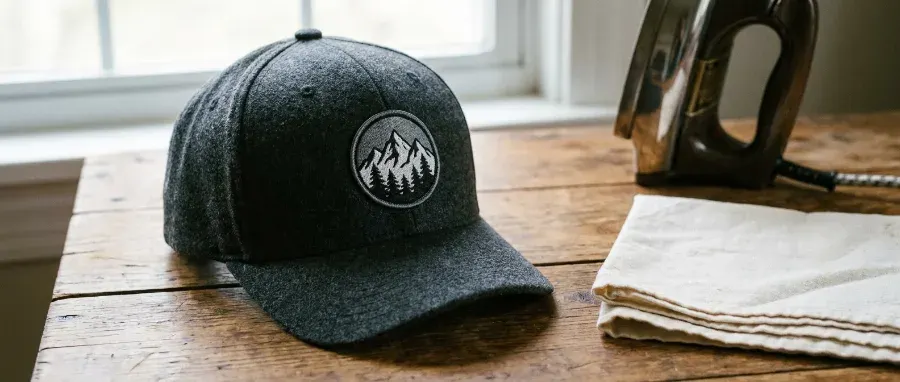
- Set your iron to medium heat with the steam function turned off. Dry heat works better here, since steam adds moisture that can warp certain hat shapes.
- Lay a pressing cloth over the patch so you’re not applying direct heat to the fabric or the patch’s design.
- Press for 20 to 30 seconds, then check the edge with your oven mitt on. Don’t touch bare fabric yet. It will be hot.
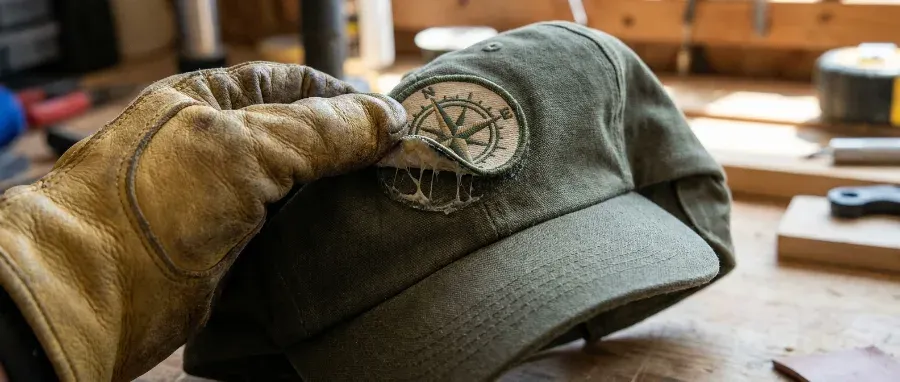
- Once you see the adhesive softening, slide a butter knife or old credit card under one corner to start the lift.
- Slowly peel the rest of the patch back while the adhesive is still warm. If it resists, reheat for another 10 seconds rather than forcing it.
Going slow here matters more than going fast. Patch peeling too quickly can cause you to tear the fabric underneath instead of just the patch. I’ve seen people get most of the way through a clean removal, lose patience on the last corner, and rip a small hole right into the brim. Don’t be that person.
Removing Patches from Different Hat Types
Not every hat handles heat the same way, and this is where most of the questions we get actually come from.
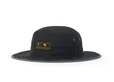
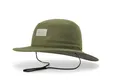
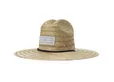
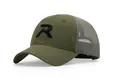
Polyester hats and mesh trucker hats heat up fast, so medium heat is usually plenty, and you’ll see results in under a minute. Structured hats hold their shape well throughout the process, which makes them easier to work with because the foam backing keeps everything stable under the iron. Cowboy hats and leather hats are the ones to slow down on. Leather scorches easily, so keep the iron on the lowest setting that still works and check it constantly, maybe every 10 seconds instead of every 30. Canvas hats and wool blend hats sit in the middle. They can take a bit more heat than leather but less than polyester, so medium-low is a safer starting point.
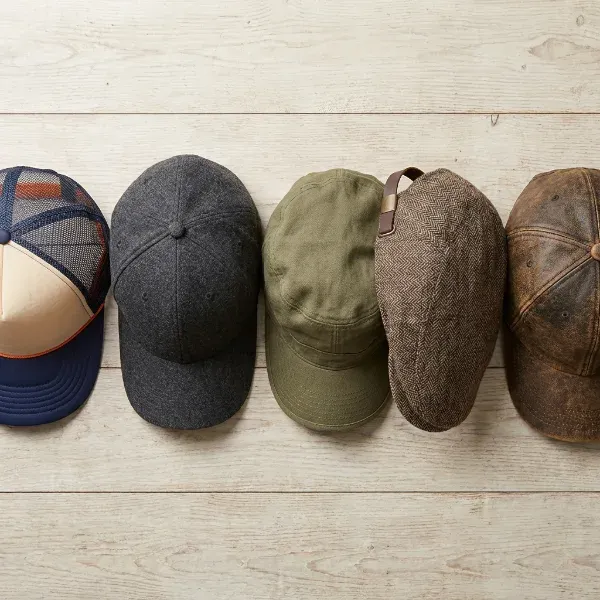
If you’re ever unsure, test on a hidden spot first, like the underside of the brim. A small patch test beats a ruined hat. I’d rather a customer spend an extra two minutes testing than call us asking how to fix a burn mark.
Common Mistakes That Damage Hats During Removal
A few things come up again and again when patch removal goes wrong.
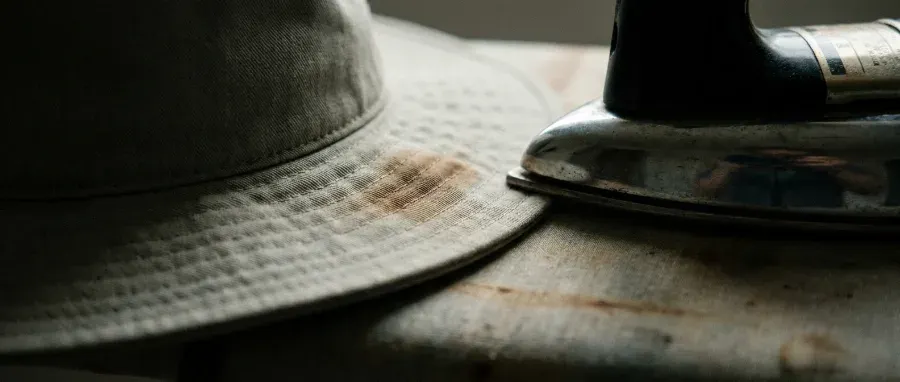
Using the steam setting is probably the biggest one. It feels like it should help, but the added moisture can warp structured brims and loosen the foam underneath. Skipping the pressing cloth is another. Direct contact with iron on the patch design itself can melt printed or PVC details before the adhesive even fully softens. And going in too hot too fast, especially on leather hats or cowboy hats, almost always backfires. A scorch mark is a lot harder to fix than a stubborn patch.
Cleaning Up Adhesive Residue
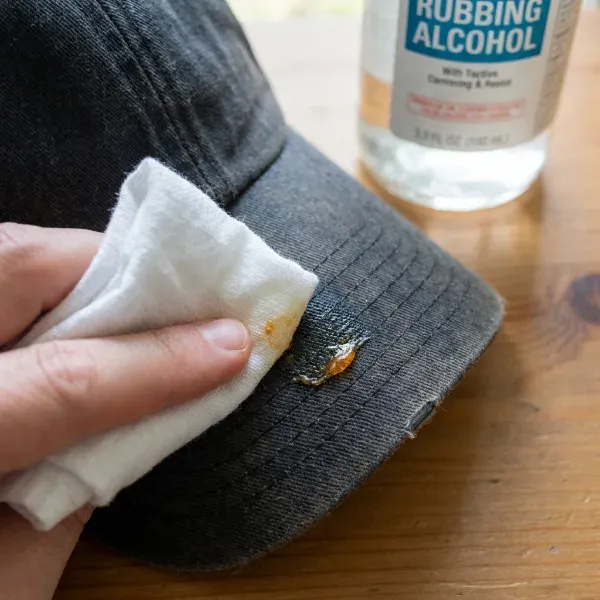
Once the patch is off, you’ll usually have a sticky outline left behind. That’s the adhesive backing that didn’t fully release, and it’s completely normal.
Dab a little rubbing alcohol on a thin cotton cloth and rub the spot in small circles. Most glue just comes off with your fingers, though. For stubborn fabric glue residue, you may need to repeat this a couple of times, letting the fabric dry between passes. Avoid soaking the fabric, as too much liquid can leave a stain, especially on lighter-colored hats.
Velcro Strips and Double-Sided Tape
If your original patch used Velcro strips or double-sided tape instead of iron-on adhesion, skip the iron altogether. Heat doesn’t do much for these, and in some cases it can make adhesive backing gummier and harder to clean up. Just peel slowly and use the alcohol method for any leftover sticky spots.
Washing Instructions After Removal
Give the hat at least a few hours before washing it. This lets any remaining adhesive fully cool and settle, and it makes residue cleanup easier too since the adhesive isn’t still tacky.
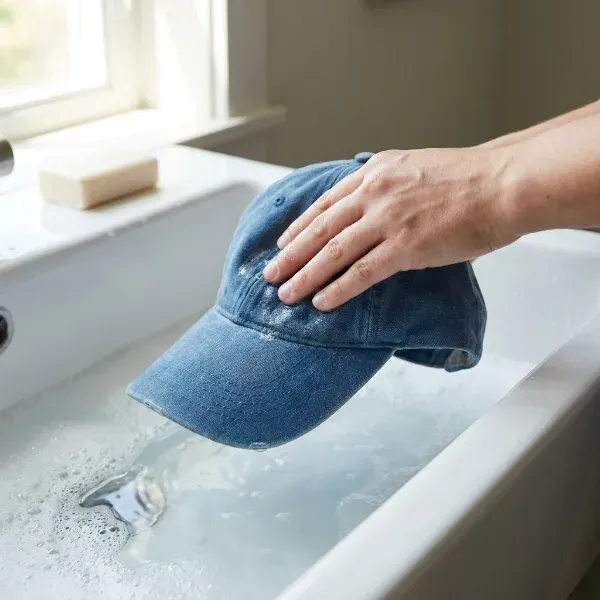
Hand wash gently rather than tossing it in the machine, especially for structured or leather hats. A washing machine can warp the brim or completely alter the shape, and that’s a much harder problem to solve than a leftover patch outline.
Adding a New Patch to the Spot
A lot of people remove an old patch because they want a new one. Good news, the spot is usually ready to go once it’s clean and dry.
When placing a new patch, front center and above the brim are the most popular spots, with side panel placement a close third for a more subtle look. Use a curved surface, like a hat form or even a rolled towel, to keep the patch sitting naturally instead of flat. This also helps prevent edge lifting down the road, which is one of the more common complaints we hear about patches applied on a flat surface rather than a curved one.
Embroidered patches and woven patches both iron on well over an old spot. PVC and printed patches tend to need a little more bottom heat when using a press. If you went the sewing route originally, sew-on patches are also an easy swap here since there’s no adhesive to deal with at all, just a needle and thread.
Ready for a new custom patch design? Start your free quote with The Monterey Company, and our in-house art team will help you get it just right.
Frequently Asked Questions
Will removing an iron-on patch damage my hat?
Not usually, as long as you use medium heat and go slowly. Most damage occurs when rushing the peel or applying too much heat to delicate fabrics like leather.
Can I reuse the same patch somewhere else?
Sometimes. If the patch backing is still intact, you can re-iron it onto a new spot, though the adhesion won’t be quite as strong the second time. We usually recommend a fresh patch if the old one looks worn.
What if the patch won’t budge?
Reheat in short bursts of 10 seconds rather than one long press. If it still won’t lift, the adhesive may have bonded with the fibers, and a fabric glue remover can help loosen it the rest of the way.
How long should I wait before applying a new patch?
Once the spot is clean and fully dry, you’re good to go. That’s usually 15 to 20 minutes after the alcohol cleanup, just long enough for any moisture to evaporate.
Final Thoughts
Removing an iron-on patch isn’t complicated once you know the right heat and the right pace. Whether you’re prepping a hat for a fresh custom patch or just retiring an old design, a pressing cloth, some patience, and a little rubbing alcohol will get the job done. And if you’re ready for something new on that spot, we’d love to help you design it.

Eric Turney
Eric Turney A devoted father, football fanatic, and stand-up comedy enthusiast who loves nothing more than bringing people together over great food and a good time. When he’s not cheering on his favorite team or experimenting in the kitchen, you can find him connecting with others on LinkedIn

 Coins & Medals
 Corporate Gifting & Events
 Custom Labels & Accessories
 Everything Keychains
 Headwear
 Holidays