
























































How to Iron a Patch on a Hat: The Complete Guide


Key Takeaways
- ‣ Ironing a patch on a hat works best with medium heat, steady pressure, and the right pressing cloth.
- ‣ Polyester hats, high quality trucker hats, and structured hats all need slightly different temperature settings.
- ‣ Patch peeling and edge lifting almost always come down to rushed cooling or skipped adhesive backing steps.
- ‣ Iron On Patches (Heat Seal Patches), Sew On Patches, and Velcro Patches each call for a different attachment method.
Ready to order Custom Patches for your hat? Get a free quote from The Monterey Company today.
How to Iron a Patch on a Hat
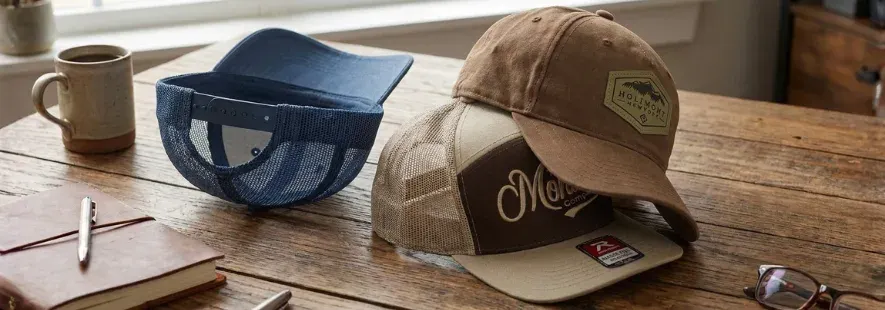
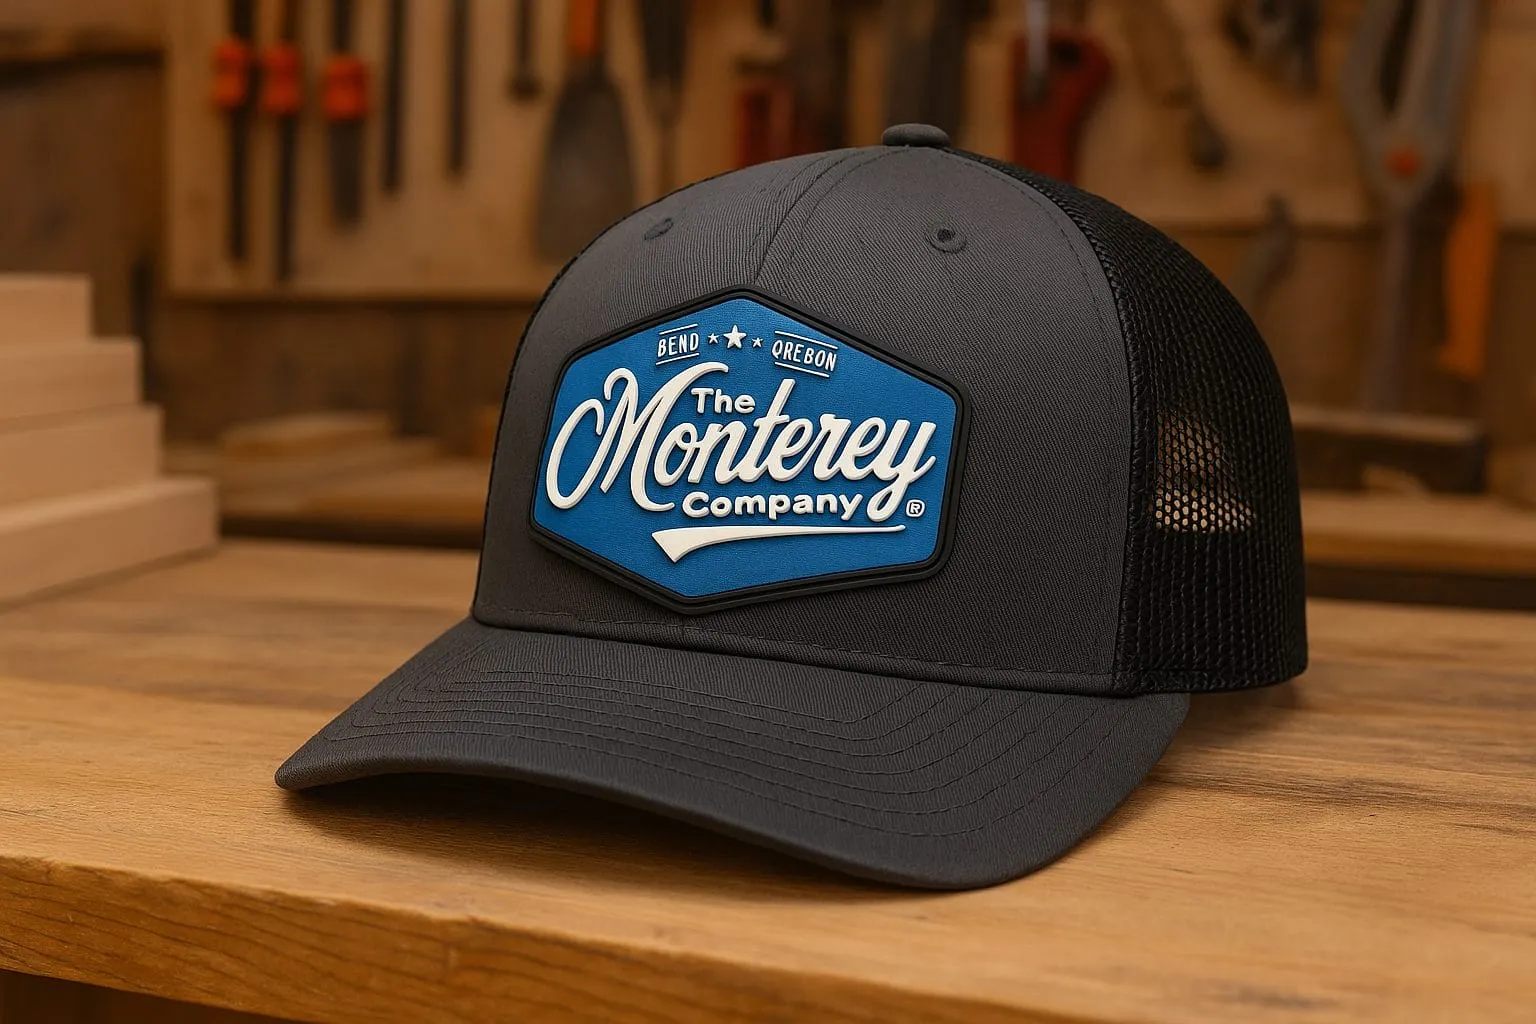
If you’re wondering how to iron a patch on a hat without it peeling off in a week, it comes down to three things: medium heat, a curved surface, and patience while it cools. Most iron-on patch failures happen because someone rushes the process and doesn’t let the hat dry or skips the heat-safe surface a rounded cap actually needs. Get those right and the patch holds for years. At The Monterey Company, we’ve made and applied hat patches since 1989.

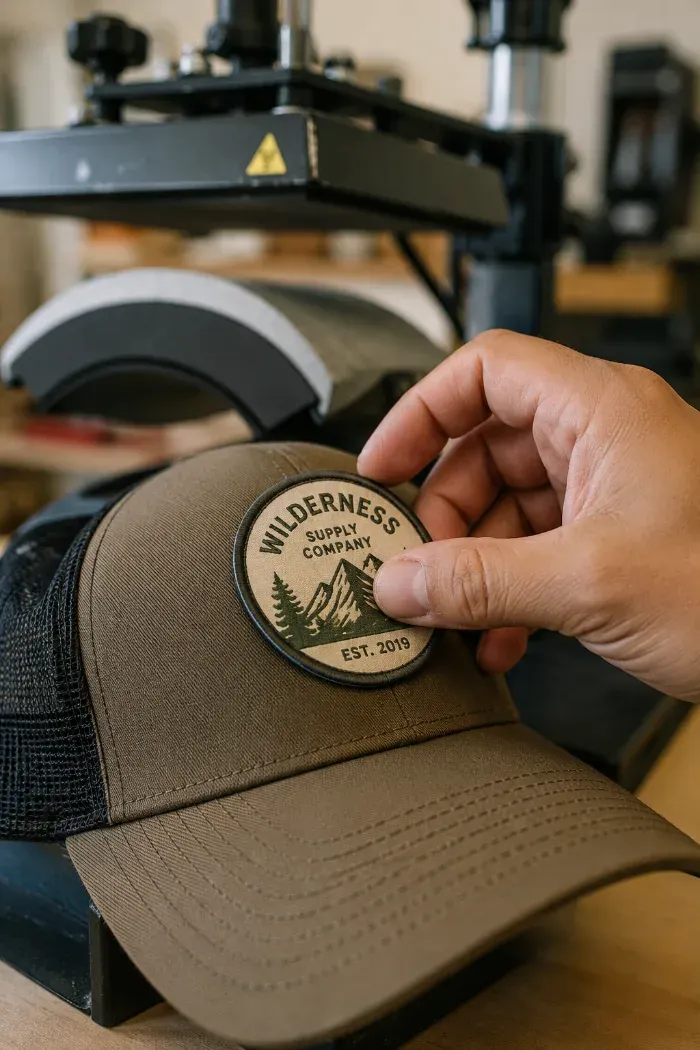
Why Ironing Works So Well
Ironing skips sewing entirely. The patch adhesive on the back melts under dry heat, bonds into the fabric, and cures as it cools. No fabric glue mess, just heat and pressure.

What You’ll Need
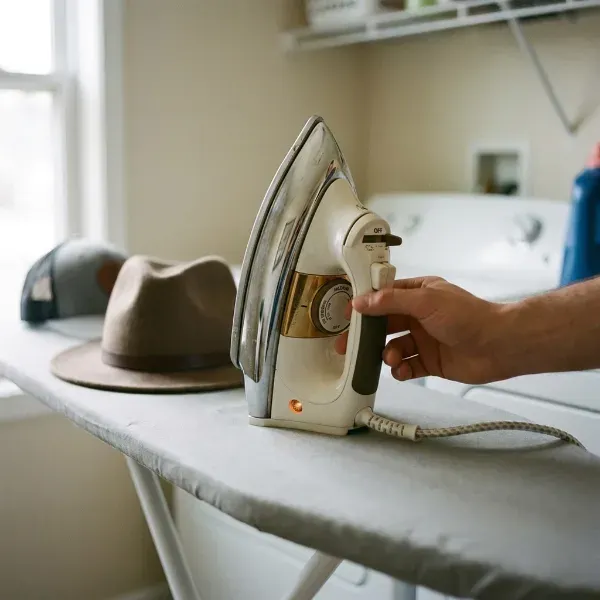
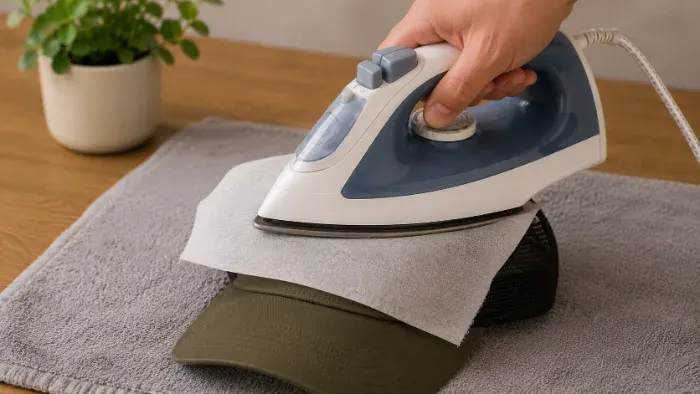
For hats, use a curved heat-safe surface so the patch sits flat against the crown. A hat heat press is the best option, though some people use a hat horn with a household iron. Gather a pressing cloth or thin T-shirt, heat resistant tape to hold the patch in place, and an oven mitt for handling hot tools.
Picking the Right Heat Press
A heat press machine gives consistent temperature settings and some of them even a steam function you can turn off, since moisture works against adhesion. A household iron works for a hat or two, but skip the steam. Dry heat is what activates patch adhesive. We use the HotTronix IQ 360 and absolutely love it!

Steps: Ironing a Patch on a Hat
Step 1: Prep
Lay the hat over a curved surface, not a flat one, so the patch adheres evenly across the crown. This is important for heat distribution.
Step 2: Check the Fabric
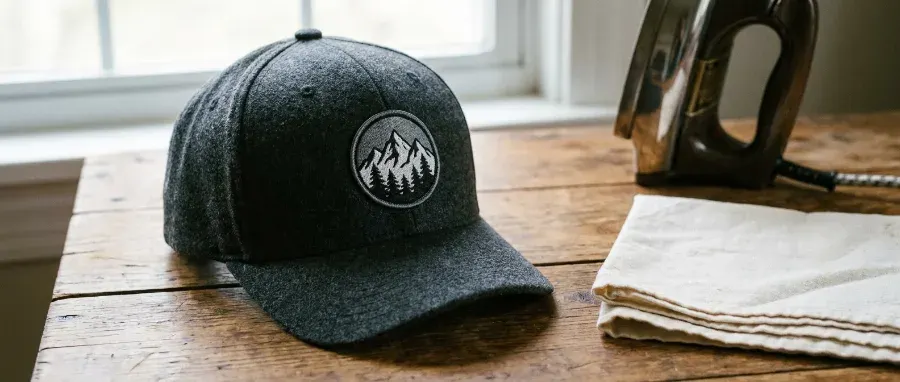
Read the washing instructions tag. Polyester hats and mesh trucker hats tolerate medium heat well. Structured hats press cleanly. Cowboy hats, leather hats, canvas hats, and wool blend hats, even custom fitted baseball hats need lower heat and extra protection.

Step 3: Preheat
A quick pass with the iron removes moisture so the adhesive backing bonds better. Preheat your hats just like the oven when baking a pizza.
Step 4: Set Placement
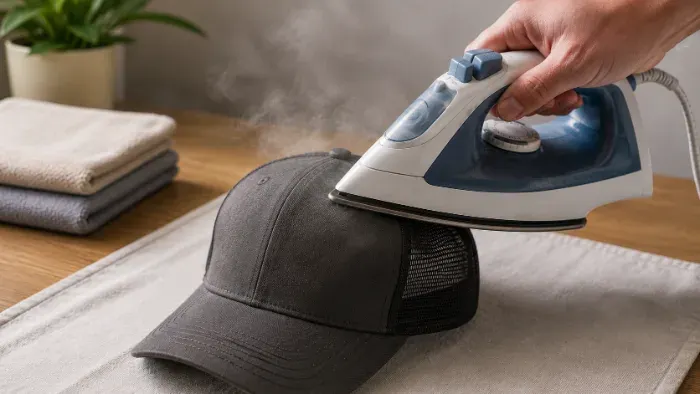
Front center is the classic spot. Above the brim and side panel work for smaller patches. Heat restiant tape holds patch placement steady during pressing. We use this product from Amazon.
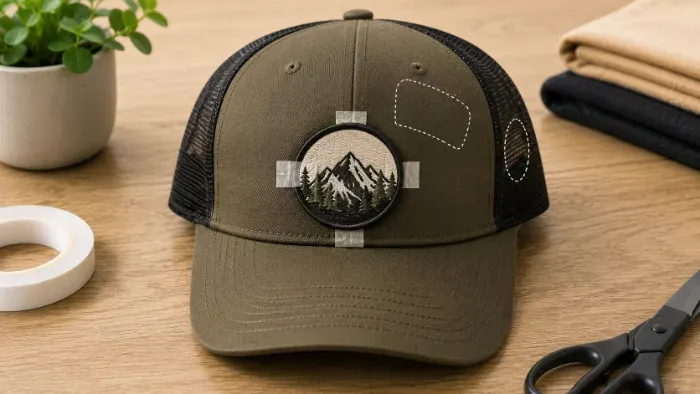
Step 5: Protect the Patch
Lay a thin cotton cloth or pressing cloth over the patch to protect the patch design from scorching. Your heat press may even have one included.
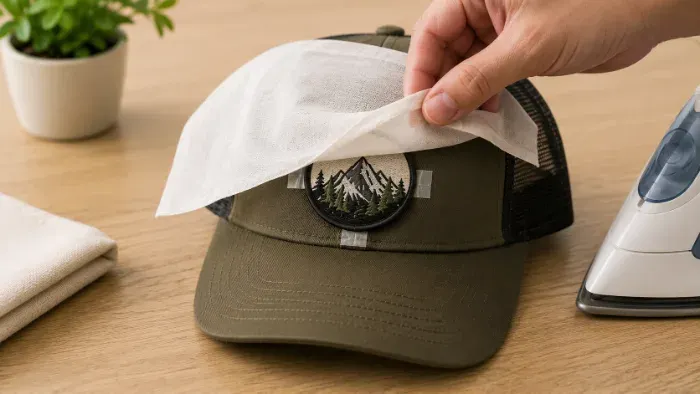
Step 6: Apply Heat
Press firmly for 20 to 60 seconds on medium heat. Many iron-on patches ship with heat press backing instructions printed right on the back, so check those first. Embroidered patches and woven patches for hats run well around 280 to 320°F.
Step 7: Cool and Cure
Let the patch cool fully before wearing or washing. Rushing this is the top cause of patch peeling.

Patch Types and Heat
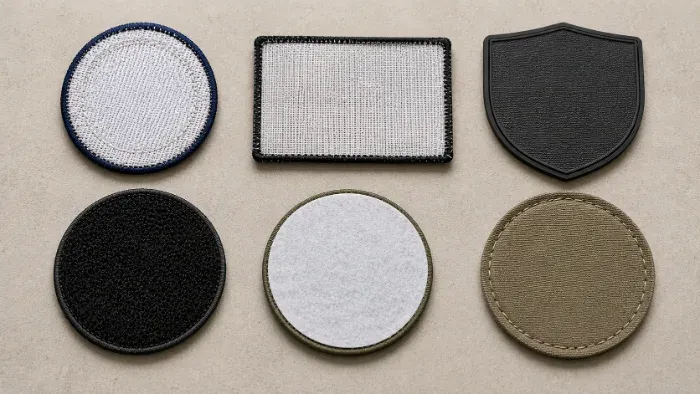
Iron-on Patches and Heat Seal Patches use heat-activated adhesive backing. Sew-on Patches skip adhesive entirely and rely on stitching, better for leather hats. Embroidered patches and woven patches handle higher heat well. Printed patches are more heat-sensitive, so use medium heat and extra pressing cloth layers. Velcro backing let you swap patches with no heat at all.
Fixing Patch Peeling and Edge Lifting
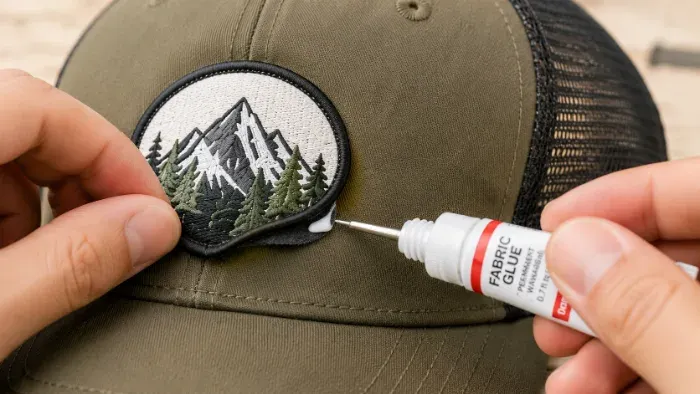
Pro Tip: Patch peeling and edge lifting trace back to three causes: not enough heat, moving the hat before it cooled, or a curved surface that wasn’t curved enough. A dab of fabric glue under a lifted edge, then a light re-press with a pressing cloth, usually fixes it.
Need patches built to survive real-world wear? Shop Custom Patches at The Monterey Company.
Frequently Asked Questions (FAQs)
What temperature should I use?
Medium heat suits most polyester and cotton blend hats. But this can vary depending on patch style and hats style.
Can I use fabric glue instead?
Yes, especially for leather hats or wool blend hats, though it cures more slowly.
Why does my patch keep lifting?
Not enough dry heat, or it was worn before it cooled and cured. We get this question a lot.
For Best Results
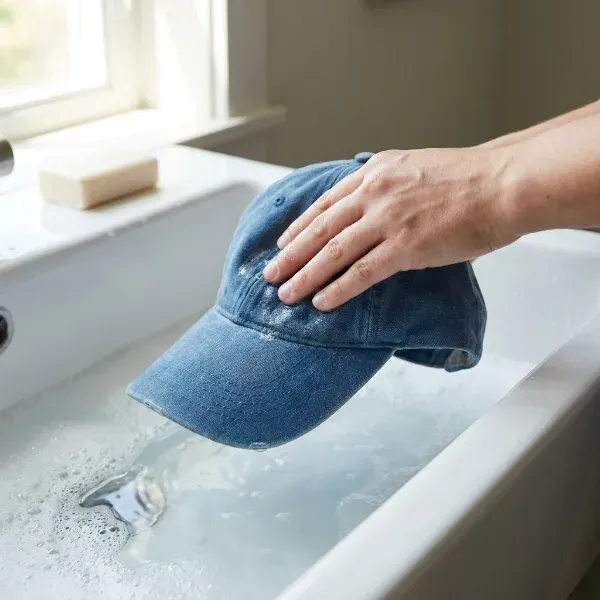
Test on scrap fabric first, especially if you are working with a new hat material. After pressing, let the patch cool fully and avoid pulling at the edges. Keep the hat out of direct sunlight for the first day so the adhesive can set properly, and do not put it in the washing machine for at least 24 hours. If the hat needs cleaning sooner, spot clean it gently by hand.
Final Thoughts
Ironing a patch on a hat comes down to the right heat press settings, a curved surface, and patience while it cools. Whether it’s custom iron-on patches for a weekend get-together or custom patches ordered in bulk, getting it right the first time saves a redo later.


Eric Turney
Eric Turney A devoted father, football fanatic, and stand-up comedy enthusiast who loves nothing more than bringing people together over great food and a good time. When he’s not cheering on his favorite team or experimenting in the kitchen, you can find him connecting with others on LinkedIn

 Coins & Medals
 Corporate Gifting & Events
 Custom Labels & Accessories
 Everything Keychains
 Headwear
 Holidays