



































































Can You Iron On a Patch to Leather? (Let’s Talk Truth)

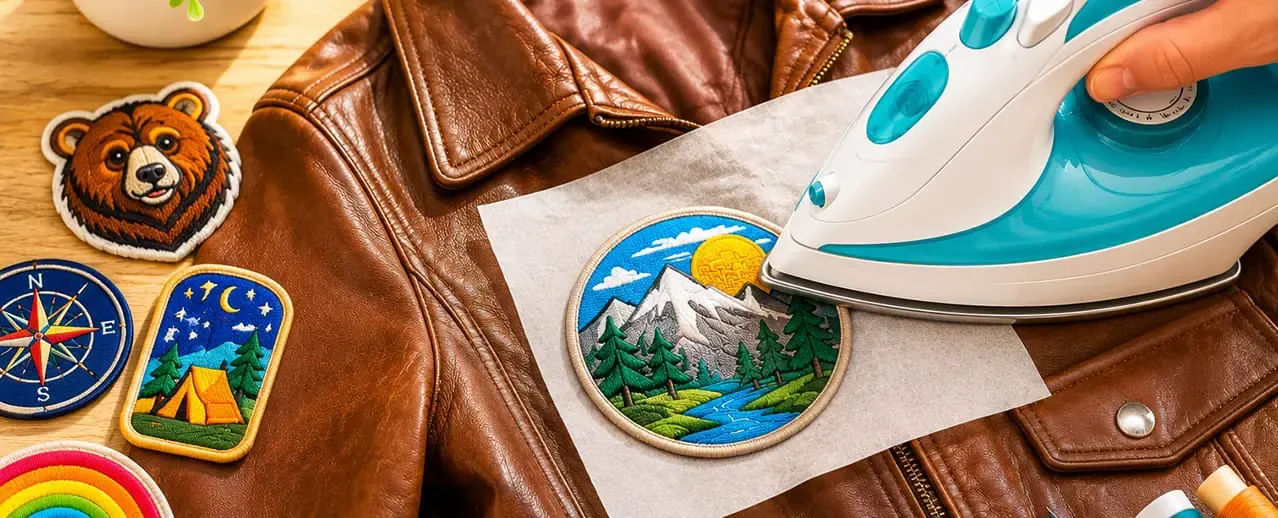
Adding custom patches to a leather vest or jacket sounds cool, right? But here’s the thing… leather and heat? Not always best friends. So if you’re wondering, “Can you iron on a patch to leather?” the answer is: it’s complicated… but not impossible.
Let’s dive into this sticky situation (literally) and figure out the best way to attach your custom patches without ruining your favorite leather gear.
Ready to order custom patches for your leather gear?
Get a free quote from The Monterey Company
Why Ironing Patches on Leather is Tricky
Leather isn’t like cotton or denim. It doesn’t like heat. A hot iron can cause heat damage, discoloration, and sometimes even cracking. That means using a household iron isn’t always a good idea, especially if you love that leather vest or leather garment. Direct heat can melt the patch’s heat-activated adhesive… or, worse, the leather itself.
Direct Heat vs. Leather Surface
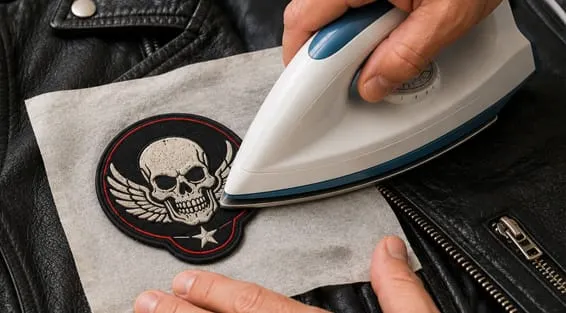
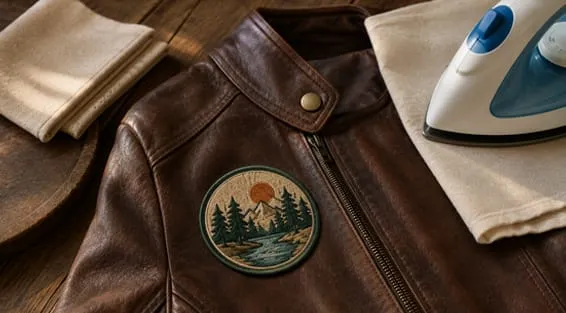
Most iron patches are designed for fabric. Leather is a totally different animal (literally). If you’re determined to try ironing patches, always use a thin cloth or pressing cloth between the patch and the leather surface. And apply heat for only a few seconds with a low heat setting.
The Best Way to Attach Custom Leather Patches
If ironing is risky, what’s the best way? Good question. The best results usually come from sewing or using fabric glue designed for leather goods.
Fabric Glue for Leather
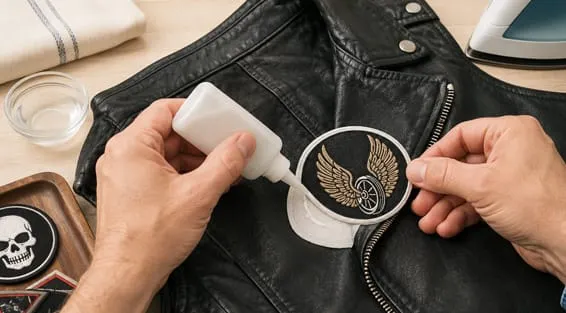
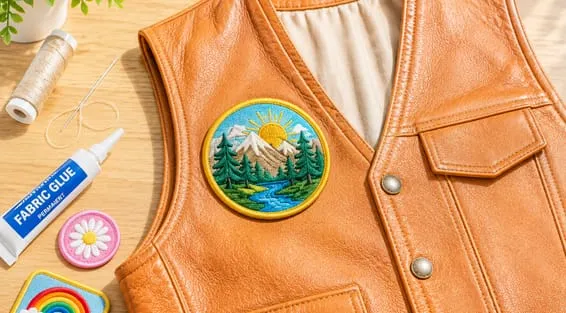
Using fabric glue or leather glue is a great way to create a strong bond without heat exposure. Just apply a thin layer to the back of the patch, press it onto the leather surface, and let the adhesive set. We suggest Refinish Coatings Leather and Fabric Glue for a strong, reliable glue that works well with leather. Don’t forget to test on a small area or an inconspicuous area first.
Sew Patches for Long-Term Hold
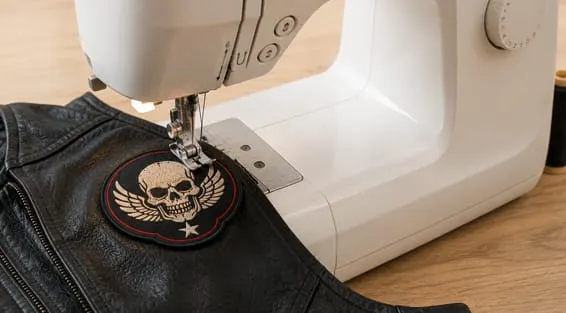
Got a sewing machine? Even better! Sew-on patches are a strong, reliable option. Hand sewing works too, especially for curved areas or edges of the patch. This method avoids heat damage and holds up well against wear and tear, whether it’s on a leather vest or a full leather jacket. When in doubt, sewing is the answer. When we attach custom patches to hats, we primarily sew them on.

Step-by-Step Guide to Applying Iron-On Patches to Leather
If you still want to try ironing (maybe you’re feeling lucky), here’s a quick step-by-step guide:
Step 1: Gather Supplies
- ✔︎ Iron patches
- ✔︎ Parchment paper or pressing cloth
- ✔︎ A heat-resistant surface, like an ironing board
- ✔︎ Household iron (with adjustable heat settings)
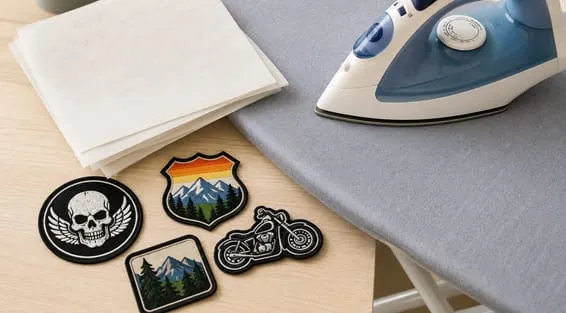
Step 2: Prep the Leather
Place the leather garment on a flat surface. Position your patch and cover it with a damp cloth or parchment paper. This acts as a protective barrier.
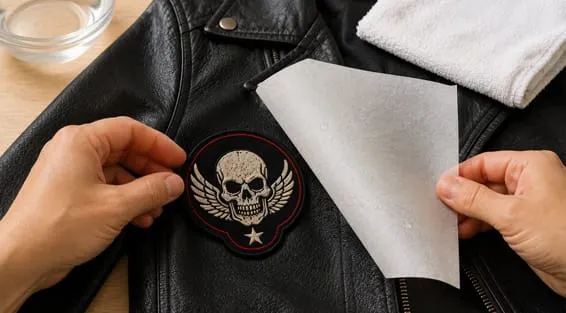
Step 3: Apply Heat, But Carefully
Set your iron to a low heat setting. Press the iron down firmly for 10–15 seconds. Avoid excessive heat and never leave it in one spot too long.
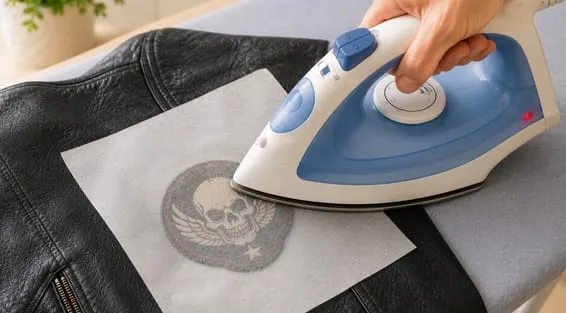
Step 4: Let It Cool
Don’t move it yet! Let the patch cool so the adhesive bond can form. You can press the edges of the patch down gently as it sets.
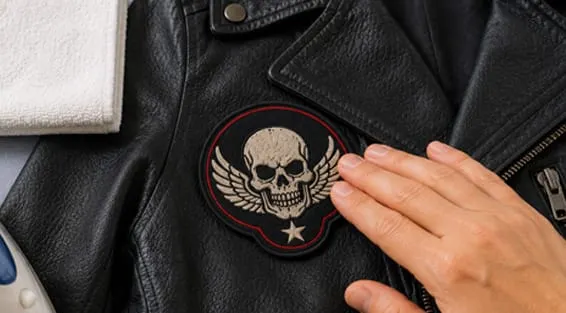
Alternative Methods to Try
Ironing isn’t the only option. Some people use rubber cement or other adhesive backing options. These can work in a pinch but may not last as long. Custom iron-on patches can also be made with a stronger heat-activated adhesive, but they might still not play nice with leather.

Sewing vs. Gluing: What’s the Best Option?
Honestly? Sewing wins. Whether it’s with a sewing machine or by hand, stitching gives your patch more flexibility and staying power. Fabric glue is a close second, especially if you don’t have sewing skills, and believe me, I have zero sewing skills.
Heat Sensitivity and Leather Types
Not all leather is created equal. Thin leather? Extra sensitive. Thick biker patches on a heavy leather jacket? You’ve got more wiggle room. Always do a patch test on a leather scrap or hidden area before diving in. We like to source our leather patches from Maverick Leather. They offer very high-quality hides that really nail that tanning process, plus offer a very good price.
Best Practices for Custom Leather Patches
Want to keep things looking sharp?
- Avoid direct sunlight while the adhesive sets.
- Use a pressing cloth for added safety.
- For large patches, consider both glue and stitching.
- Read the manufacturer’s instructions for any custom iron-on patches.
Best Practices for Custom Leather Patches
“Can I apply Scout Patches to my leather vest?”
Yes! Just use a needle and thread or fabric glue. You can heat-apply as well. Just make sure they include iron-on backing.
“What about PVC patches or Chenille patches?”
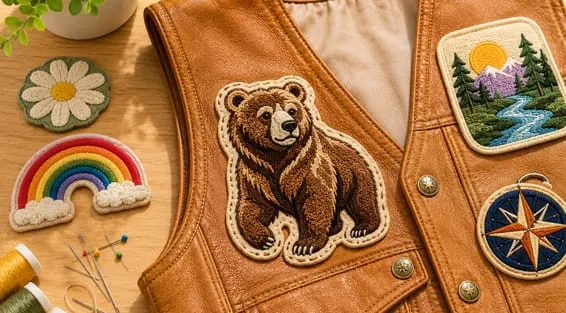
PVC patches usually aren’t made for leather. Chenille patches are even trickier. Try sew-on styles instead.
Final Thoughts: What’s the Easy Way?
The easy way? Skip the iron. For the best results, sew patches or use fabric glue. Adding patches to a leather vest or jacket is a great way to show off your style, but only if you avoid heat damage.
Need help designing your own custom leather patches? We’ve got you covered at The Monterey Company. From biker patches to custom metal medallions, with free quotes and free art proofs, we make leatherwork easy.
Have a question or need a patch made just for you? With 30+ years of experience, we’re happy to help.

Eric Turney
Eric Turney A devoted father, football fanatic, and stand-up comedy enthusiast who loves nothing more than bringing people together over great food and a good time. When he’s not cheering on his favorite team or experimenting in the kitchen, you can find him connecting with others on LinkedIn

 Coins & Medals
 Corporate Gifting & Events
 Custom Labels & Accessories
 Everything Keychains
 Headwear
 Holidays