





















































How to Remove Iron On Labels Without Losing Your Mind

Key Takeaways
- ‣ Check the fabric care instructions first: polyester, wool, and other delicate fabrics need a low heat setting to avoid fabric damage.
- ‣ The iron-off method handles most heat seal labels: warm with medium heat under parchment paper or a pressing cloth, then lift with tweezers.
- ‣ The freezing method works best for heat transfer vinyl removal: bag the item with ice packs until the heat-activated adhesive turns brittle.
- ‣ Left with sticky spots? The solvent method, using rubbing alcohol, a fabric-safe adhesive remover, or Goo-Gone, breaks down adhesive residue fast.
Ready to swap out those labels for good? Order custom iron-on labels with free digital proofs and no minimums to worry about.
How to Remove Iron-On Labels the Right Way
If you’re wondering how to remove iron-on woven clothing labels without wrecking the fabric underneath, it’s because the wrong heat setting, or a rushed peel, is almost always the real culprit. All custom labels, whether it’s heat seal labels, heat transfer labels, or straight-up vinyl, is really just heat-activated adhesive holding onto cotton, polyester, or something more delicate. Once you know how that adhesive behaves, removal gets a lot less stressful.
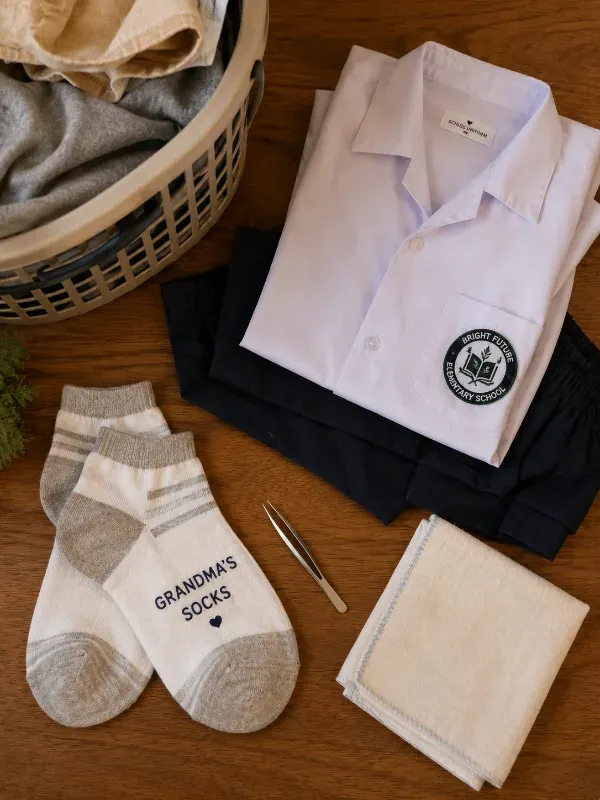
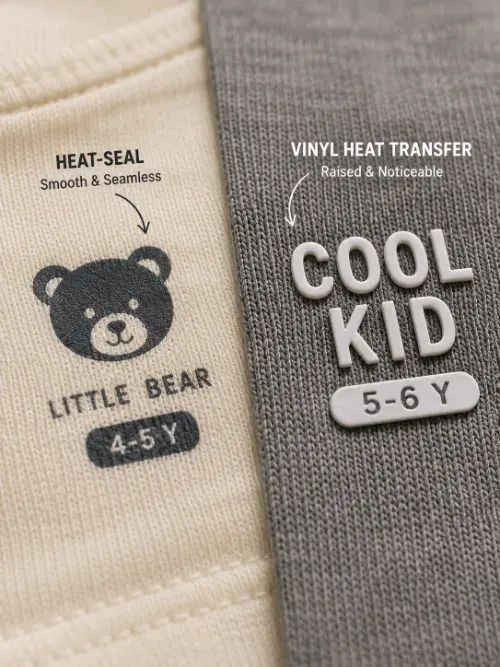
Grandma’s headed to assisted living and every sock has her name ironed in. Or your kid outgrew last year’s uniform. Either way, we’ve got three methods below, and one of them probably fits whatever’s in your laundry basket.
Read the Fabric Care Instructions First
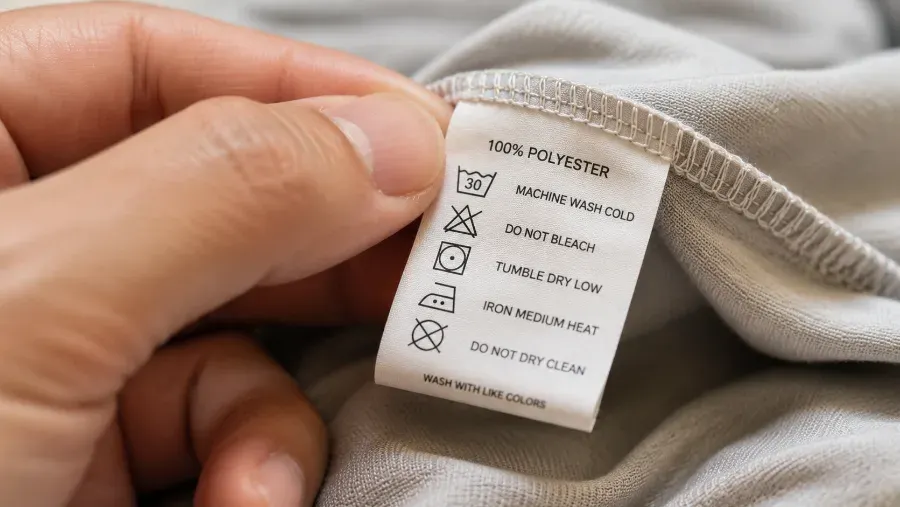
Check the fabric care instructions before an iron or heat gun comes anywhere near the label. Polyester and other delicate fabrics scorch fast, so switch to a low heat setting, or the wool setting if your iron has one, instead of blasting medium heat straight through. A quick glance at any fabric temperature guide on the care tag tells you the ceiling before you risk fabric damage.
Method One: The Iron-Off Method
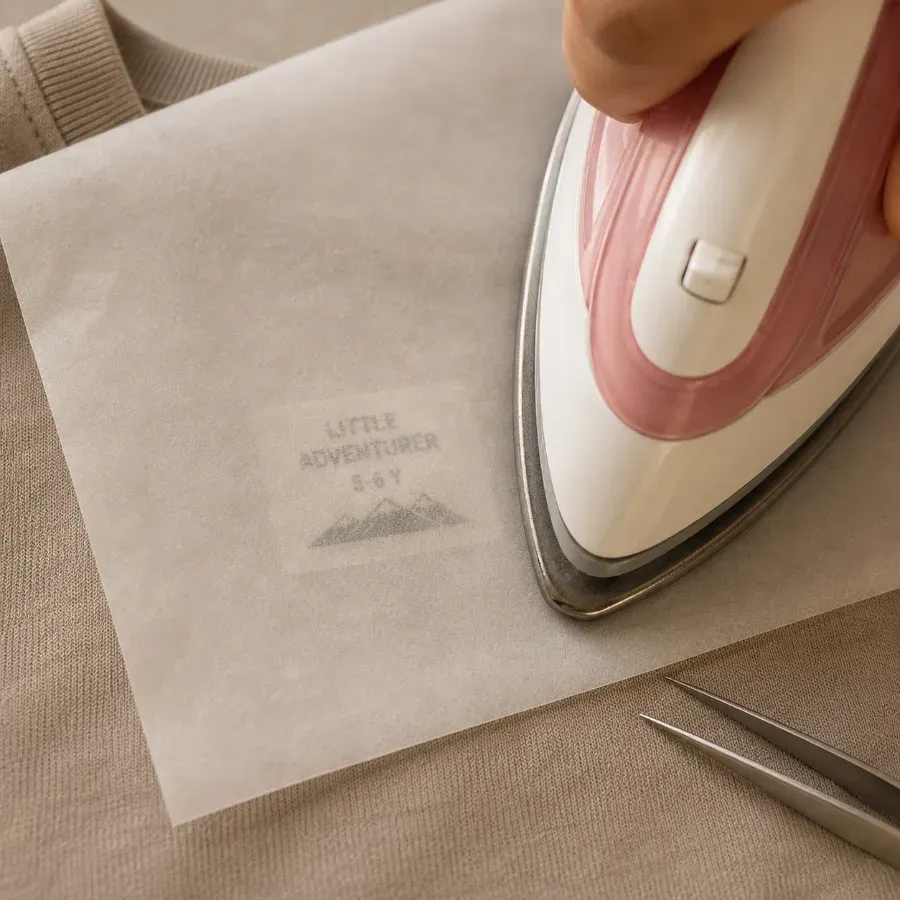
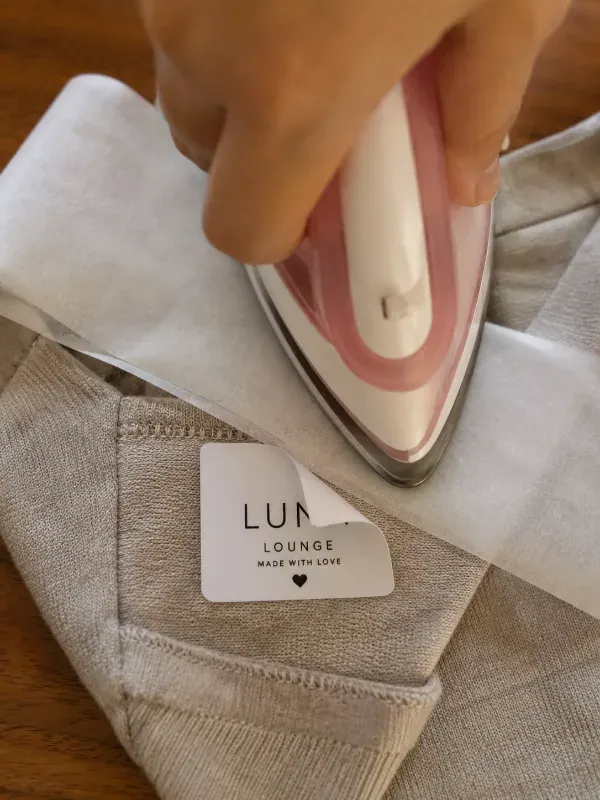
The iron-off method is the go-to for most heat seal labels, weather custom printed labels or woven. Lay parchment paper, baking paper, or a folded pressing cloth over the label, or aluminium foil in a pinch, so the iron never touches it directly. Set the correct heat setting, medium for cotton, low for anything delicate, and press for 20 to 30 seconds on a flat, heat-resistant surface.
Lift one corner with tweezers while the label is still warm. If it fights back, give it another round of heat application. No iron handy? A hair dryer on high, held close for 30 to 60 seconds, or a heat press like an Easy Press or Easy Press Mini, softens the same heat-activated adhesive just as well.
Tools You’ll Need
- ‣ Tweezers or needle-nose pliers for lifting corners
- ‣ A hair dryer, heat gun, or heat press, the Easy Press Mini is great for small labels
- ‣ Parchment paper, baking paper, or a pressing cloth as a barrier
- ‣ Hair clips to keep loose fabric out of the way
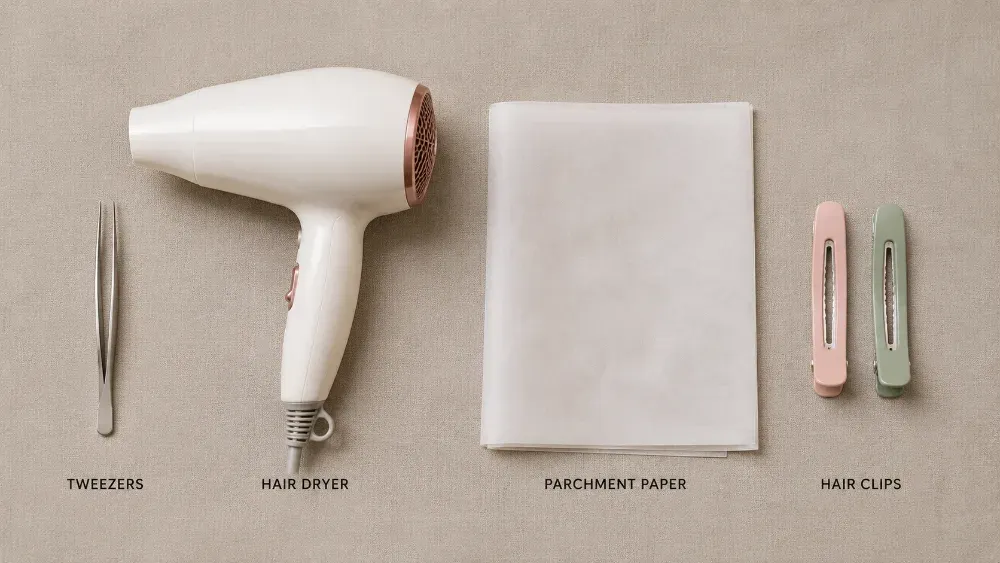
For Printed or Vinyl Labels
Some heat transfer vinyl and heat transfer logos won’t peel at all, they’re pressed straight into the fibers. Switch to the steam setting and use steam removal instead of dry heat, working in short bursts so the fabric doesn’t scorch.
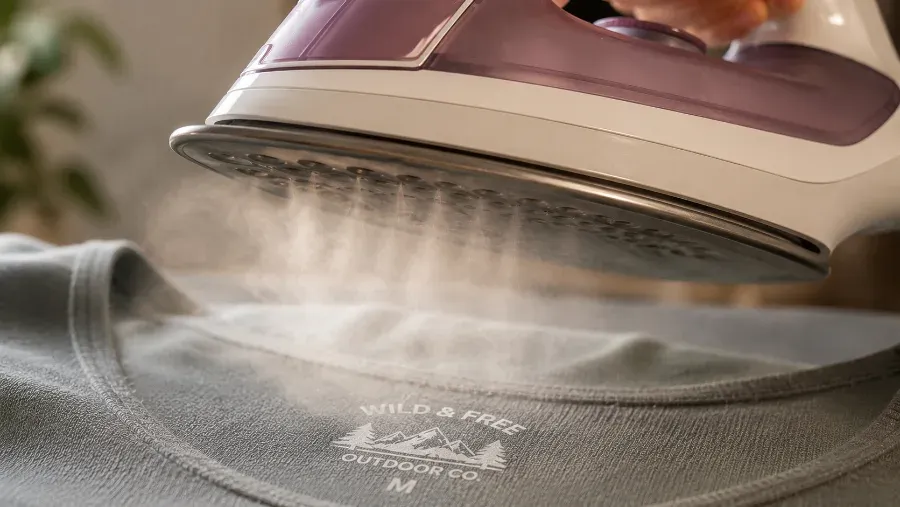
Method Two: The Freezer Method for Heat Transfer Vinyl Removal
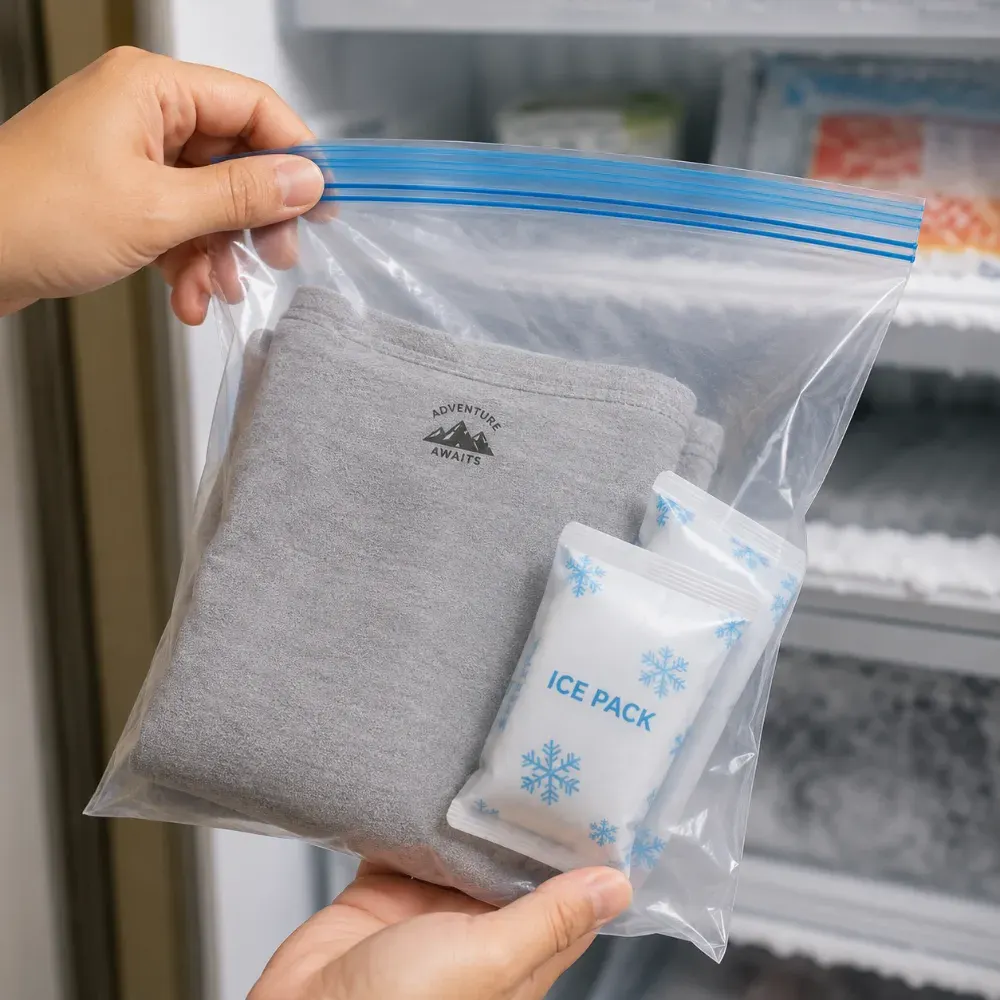
The freezing method is the gentler cousin of the iron-off method, and it shines on heat transfer vinyl. Slide the garment into a freezer bag with a couple of ice packs and leave it in the freezer for two to three hours.
Cold turns heat-activated adhesive brittle instead of gooey, so the item comes out ready to crack apart with a fingernail or plastic scrapers before it warms back up. It’s a favorite trick for custom patches and vinyl letters applied with vinyl cutters, since there’s no heat involved and no risk of fabric damage.
Method Three: The Solvent Method for Leftover Residue
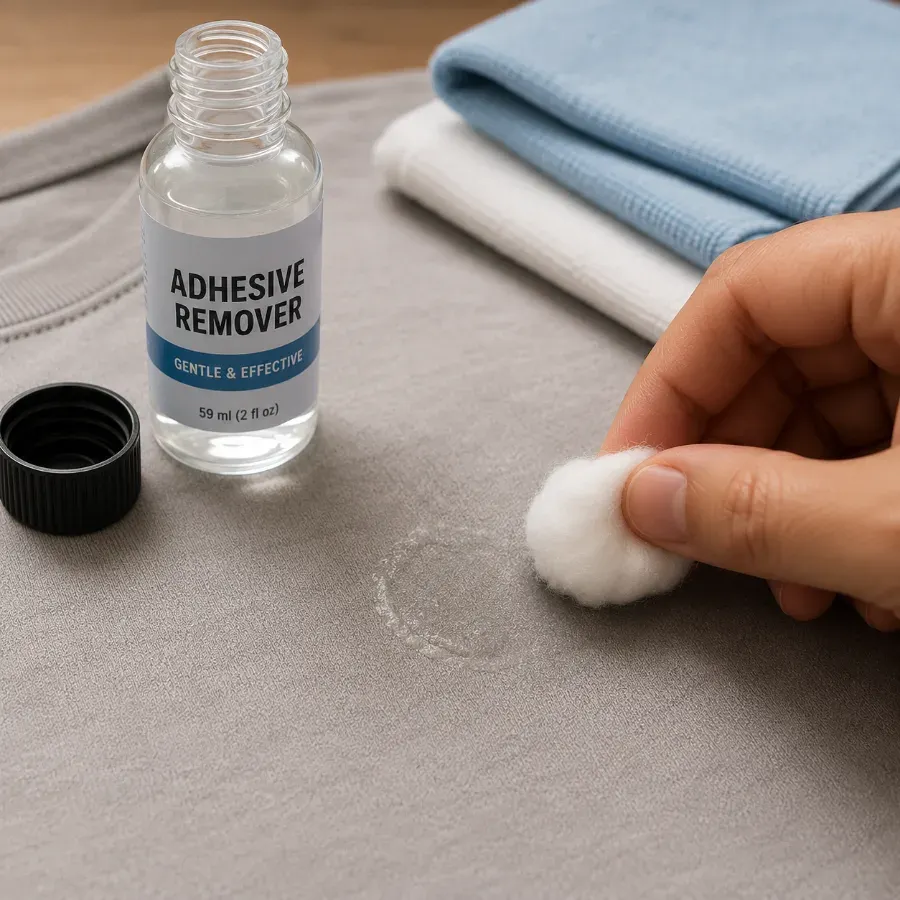
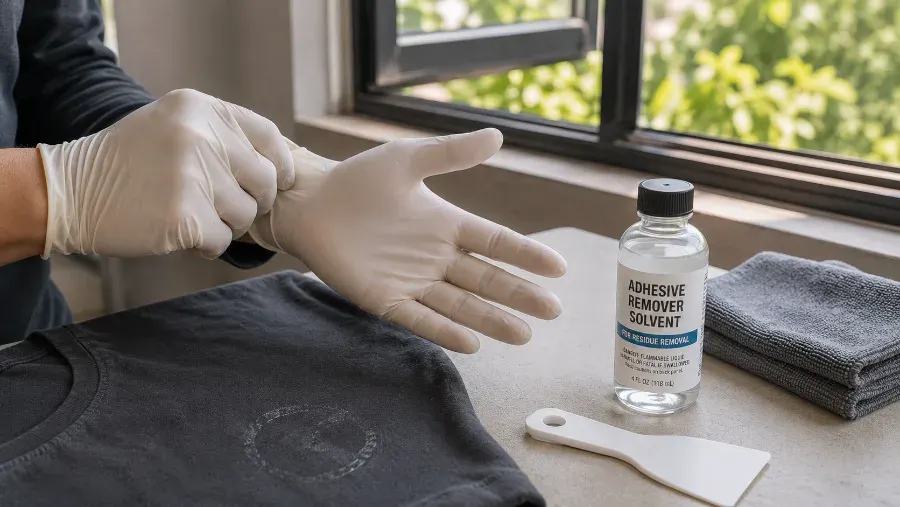
Once the label is gone, a ring of adhesive residue is usually still there. That’s where the solvent method earns its keep. Dab on rubbing alcohol, a fabric-safe adhesive remover, or Goo-Gone with a cotton ball or cotton swabs, let it sit a few minutes, then wipe clean with clean rags.
For anything stuck with a vinyl remover solution or vinyl letter remover, follow the bottle’s directions and spot test first. Finish with a wash in mild detergent, and hold off on the washing machine until the residue is actually gone. Otherwise it just spreads to the rest of the load.
A Few Safety Notes
Wear basic protective gear, gloves and a ventilated room, any time solvents are involved. Keep a Sharpie away from bare skin while marking test spots, and skip metal on barcode labels or dry cleaner barcodes altogether, plastic scrapers are the safer bet.
Need labels that won’t fight you later? Get a free digital proof on custom iron-on labels built to actually last.
Which Method Should You Use?
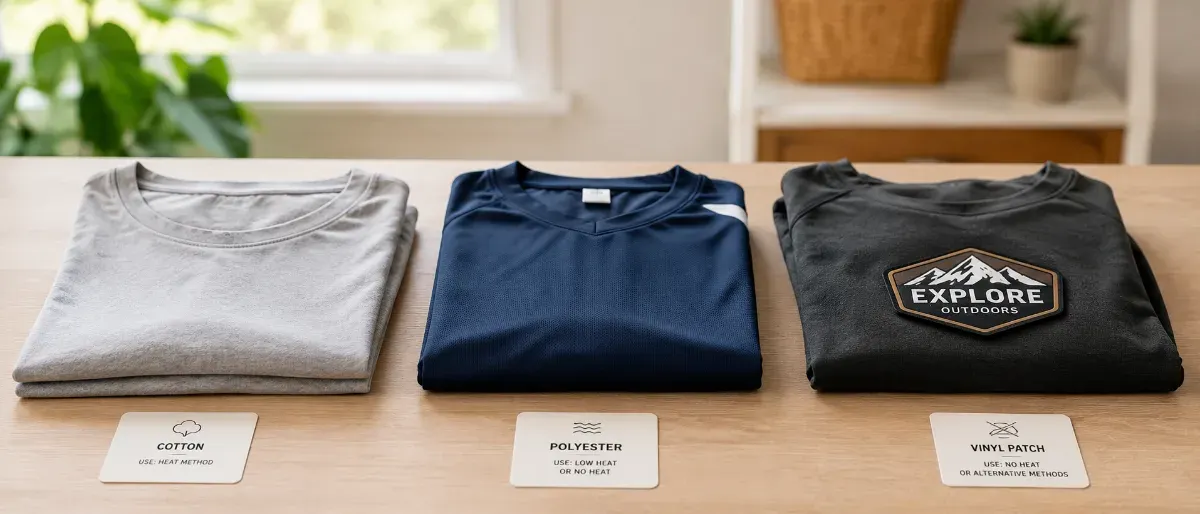
Cotton or polyester with a basic heat seal label usually responds fine to the iron-off method. Anything built from heat transfer vinyl does better in the freezer. And if the label is already gone but the glue isn’t, the solvent method finishes the job. The Monterey Company has been making custom labels people actually want to keep on for over 35 years, so between our team and our 1,000+ five-star reviews, we’ve seen just about every removal disaster in the book.

Eric Turney
Eric Turney A devoted father, football fanatic, and stand-up comedy enthusiast who loves nothing more than bringing people together over great food and a good time. When he’s not cheering on his favorite team or experimenting in the kitchen, you can find him connecting with others on LinkedIn

 Coins & Medals
 Corporate Gifting & Events
 Custom Labels & Accessories
 Everything Keychains
 Headwear
 Holidays